
This Help topic refers to the following editions:
þ Enterprise þProfessional þ Personal þSmall Business
The current version of DocuXplorer is, by far, our most comprehensive version of DocuXplorer. Because of the extensive new features and the fact that the data from the version you are on must be converted to the current release, this update is not as simple as past updates have been. While the written instructions are provided below and can be performed on your own, you must make sure you have a full backup of your data in the current version before executing this process. We cannot be held responsible for not following this step.
That said, without our Super Support package, clients are encouraged to purchase a Level 2 support ticket so that we can ensure the update is performed without any issues and with as little downtime as possible. Our technicians are specially trained to handle this process and will be able to do it much faster than it would take you internally.
Part 1 - Verify and Backup:
Log onto your server as the Administrator
Disable any backup or syncing software that may try to access the DXLibrary files
From the server, run ..\DXDocs\DXInstall\Docuxplorer.exe
Confirm with your end users that the documents you see in Docuxplorer are the correct production set of information
Click Tools,< Active Users>
Confirm you are the only user in the system and do not allow any other users to open DocuXplorer until after the conversion
Click File< Connect/Create Library>
Click Properties
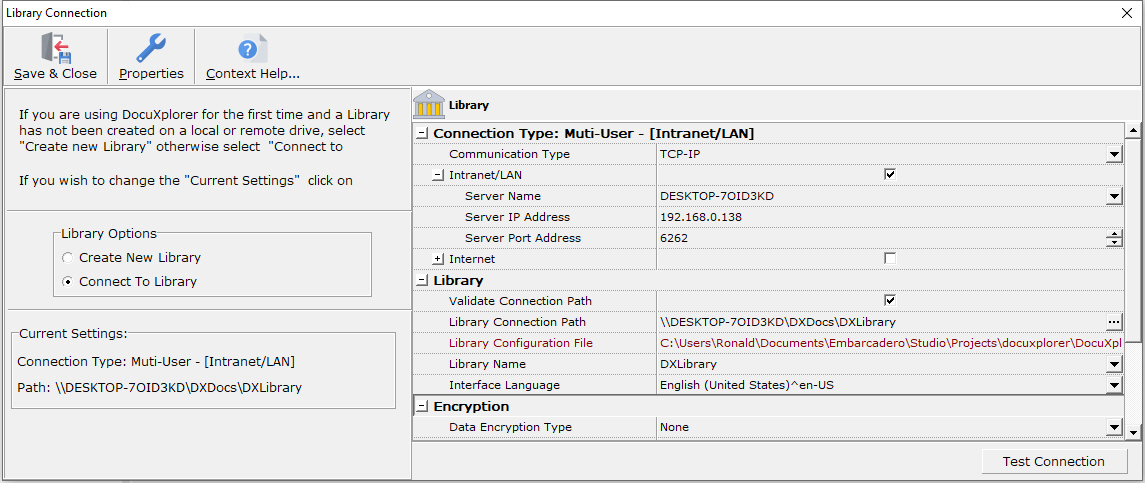
Copy the “Library Connection Path" to your clipboard.
Close DocuXplorer.
Go to Start< Run> in the operating system (or hold the Windows key+ R).
Paste the file path and press enter.
The files in this folder represent all your data in DocuXplorer. Copy this entire folder to a backup disk.
Check your backup copy of the Library
to make sure it is the same size as your production library and has
the same number of files. If there is a discrepancy, try backing it
up again. Do not proceed until you have a good backup of your data.
Also, make a copy of your ..\DXDocs\DXInstall folder.
**An unexpected system error during the conversion process may require that you recover the entire library from your backup. For that reason, also make sure any library data saved outside of the library folder location is also backed up. Without a backup available, you may lose access to all of your data**
Part 2a - Data Preparation
Log onto your server as the Administrator.
Open DocuXplorer.
Right-click on Library" in the left pane at the top of the hierarchy.
Choose “Connect Cabinet."
Connect all Cabinets that have been
disconnected from the Library, until the window reads that there are
noun connected Cabinets. There is never a reason for a Cabinet to
be disconnected unless directed to do so by Docuxplorer Support.
**An unexpected system error during the
conversion process may require that you recover the entire library
from your backup. For that reason, also make sure any library data
saved outside of the library folder location is also backed up. Without
a backup available, you may lose access to all of your data**
Right-click on “Library" in the left pane.
Select “Perform Maintenance."
Click OK (do not select the option to reclaim drive space).
For each Cabinet, perform the following:
Right-click on the Cabinet.
Choose “Connect Drawer."
Connect all Drawers that have been disconnected. Drawers, like Cabinets, should never be disconnected unless directed to do so by Docuxplorer Support.
After all Drawers are connected, right-click on the Cabinet and select “Perform Maintenance."
Click the box to “Include all Drawers."
Click OK (do not select the option to reclaim drive space)
Allow the maintenance to complete (you'll see the Cabinet highlighted in blue again; it may take a few minutes for each cabinet).
Repeat this process for all
cabinets.
Part 2b – Data Preparation (continued)
Click the work folder or any folder within DocuXplorer that will show “Index Set Tools” drop-down in the top menu area.
Click “Index Set Tools.”
Click “Manage Index Sets.”
Right-click on each index set and choose “Upgrade field properties to new version” (repeat for every Index Set listed).
Close the “Manage Index Sets” window.
Close DocuXplorer.
Part 3- Update & Convert
In Docuxplorer select Help | Product Updates to download the current release of the product
Save the file to your server's original installation directory (e.g. (\\Server Name\DXDocs).
Before running the newly downloaded version:
Make sure you have installed the latest updates and service packs for your operating system.
Make sure users have closed DocuXplorer and all Microsoft applications.
From the server, start the install program and change the default installation directory to your current installation directory (e.g.(C:\DXDocs))
Follow the on-screen instructions to complete the installation. (NOTE: Please make sure to select the Advantage database version you are licensed for)
Go to Start /All Programs in Windows.
Click on /Advantage Database Server."
Select Advantage Configuration Utility."
Click the “Install Information" tab. This will tell you what version of Sybase Advantage you own.
DocuXplorer Configuration Utility- After installing the Advantage Database Server, you will be presented with the DocuXplorer Configuration Utility. This utility allows DocuXplorer to conserve computer resources on your server. To configure DocuXplorer resources properly:
Enter the number of users in the "Number of Licensed Users" Field.
Enter the number of Cabinets a user would normally have opened in the library.
Click the “Apply” button.
Wait for the progress window to disappear before proceeding.
Registration Information: DocuXplorer retains your Activation Code, so there is no need to re-register your product.
Firewalls- If you have an Internet connection, allow DocuXplorer on the workstation to communicate through any firewalls so that we can inform you of any available updates, and give you the choice to automatically download and install. On the server, enable the ads.exe service to communicate internally via the default port of 6262.
Antivirus Software- Exclude all DocuXplorer database files from your antivirus software auto-protect process. Exclusions specify the files that should not be scanned by file name extension or by specific filename. File extensions to exclude are .ADT, .ADM, .ADD, .AI, .AM, .ADI and .TMP
Indexing Software- Exempt the DocuXplorer database files from being regularly indexed by software like Google Desktop, Yahoo Desktop, or MSN Desktop.
Once the installation has been completed, start DocuXplorer from the server via ..\DXDocs\DXInstall\Docuxplorer\Docuxplorer.exe
Once DocuXplorer is started, it will identify that a conversion process is required and prompt you to confirm that you have completed your 11Data Preparation" steps above.
Once you confirmed it's OK to proceed, the conversion will start and display the work in progress. The process will take about 30-60 minutes per 100 gigabytes, so do not run any other process during the conversion. **Even if the dialog title reads not responding. The process is still working in the background, wait for it to complete.
Once the process completes successfully it will ask if you wish to restart DX (DocuXplorer). If the process fails, it will prompt you to email the result to DX Support for review.
If you wish to restore your system simply restore the ..\DXDocs\DXInstall and ..\DXDocs\DXLibrary folders.
Be sure to delete the existing folders first.
