
This Help topic refers to DocuXplorer Enterprise, and Professional only when the optional Import Engine has been purchased and registered.
If any of thee options below are disabled check and make sure that you have read Write access to the data files under Tools | Options | Import.
Add a new Import Job from the Import Engine Desktop.
To add an Import Job:
On the Ribbon Tab click the Add Import Job icon to open the Import Job Properties dialog Box

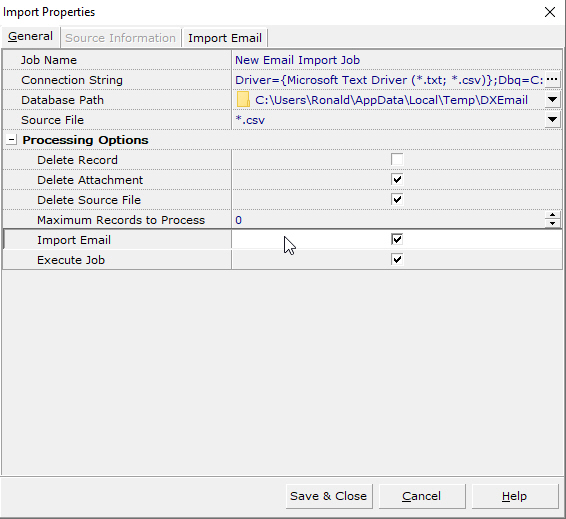
Enter a Job Name
Create a Connection String by highlighting the field and clicking on the three dots to bring up the Data Link Properties dialog/Provider tab.
Special Note: Microsoft ODBC Engine does not like files that have dashes or spaces in them
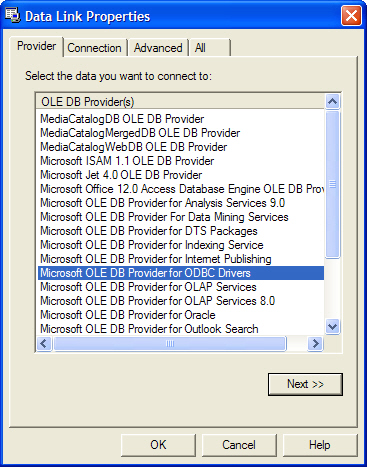
Select a data type to connect for this Import Job. Additional help is available for this dialog from the help button in the dialog box.
Click here to see instructions on how to create a Connection String for a CSV file.
Click here to see instructions on how to create a Connection String for an Excel file.
Click here to see instructions on how to create a Connection String for an Access database file.
Click the Next button to select the Connection Tab
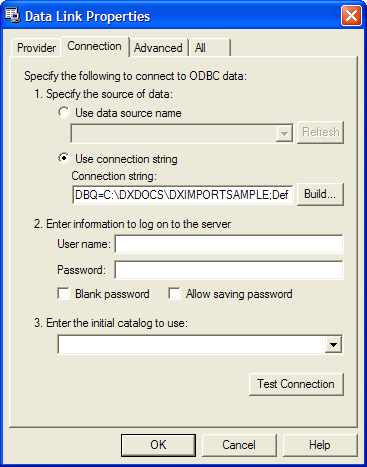
Enter the path to the database you are to connect to along with user names and passwords, if any.
Click OK
Log in to the selected database

Type in the path to the database in the Database Path field
Type the name of the Source File into the Source File field. The Source File is the database or TXT file that DocuXplorer uses for information on the Import Job.
Select Processing Options - only available from database files, not available from a text or Excel file.
Select Delete Record if you wish to delete the record from the source file
Select Delete Attachment if you wish to delete the attachment (document file) from your hard drive
Select Delete Source File if you wish to delete the entire source file from your hard drive
Select Disable User Event logging if you wish not to log the Add Documents event during the import process
The Maximum Records to Process should be used when many import jobs are running at the same time and you wish to provided equal time for each job by limiting the number of records to process for each job.
Import e-mail allows you to import emails and attaches from you e-mail service provider
Execute Job indicates that a job should be run when the Run Job option is selected
Tip:
The choice to delete records, attachments or source files will be defined by your use of the Import Engine. For example if you are testing a source file you may choose not to delete the records from it to reuse those records. You may also wish to leave the document attachment in place so that it can be used again. Or if you are running multiple Import Jobs continuously you may wish to delete the source file to automatically run the next job.
Test the connection by selecting the Source Information tab to see the columns that make up the Source File
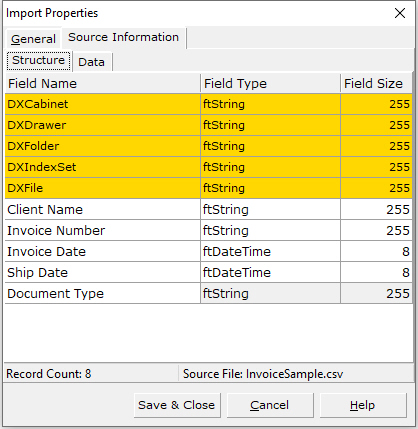
Click On Source Information | Structure to preview the fields for the information that will be imported
Place a check mark in the Key Fields to identify which columns should be used to locate an existing document for updating. Leaving all fields unchecked will instruct the import engine to add documents without trying to locate them first.
Click on Save & Close to save your changes an close the dialog
Click on the red X will cancel your changes
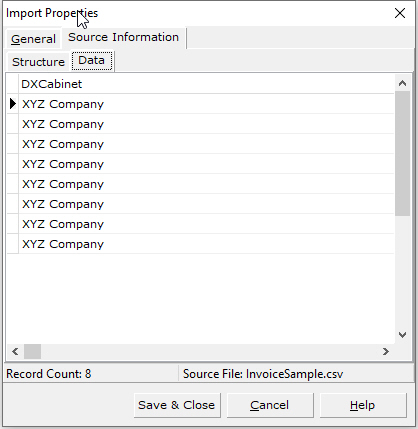
Click
on Source Information | Data to preview the information that will
be imported
*** If you see "junk" data in the preview, your source file
may be using the wrong character set for the ODBC driver. You
will have to go back to building the string, and choose "define
format" in the ODBC Text Setup screen options to change the character
set to the proper selection. OEM is used by default, but you
may have to use ANSI in some cases. Essentially you will have
to modify your DSN to conform to the way your source file is constructed.
This could include going to the DSN itself and choosing to Edit
in a text editor, such as notepad. From there, you can set a
variable for CHARACTERSET to match the character set you are using.
For example, if you are using unicode, you would enter: CHARACTERSET=UNICODE
***
Click on Save & Close to save your changes an close the dialog
Click on the red X will cancel your changes