
This Help topic refers to the following editions:
þ Enterprise þProfessional þ Small Business
This feature allows you to create links between documents, making it easy to find other documents that are related by Index information or by a manually selection process.
For example if you managed invoices, you could link all the PO or Order to the original invoice document by Invoice number. Or maybe you manage expenses receipts and you need to manually link them to an expense report. Now you can right click on a document and select the method you used to locate these documents. This feature is particularly helpful when the linked documents are located in a other drawers and folders.
As I mentioned above, documents can be linked manually or by index information, but all linked documents must be located in the same cabinet. This is not a limitation but part of the methodology of how documents should be organized. Below are the instructions of both methods in which documents can be linked.
Linking Documents Manually via Selection Lists
Selection list linking allows you to manually select documents via the "Add Document to Selection List" feature. This method lets you randomly select documents that should be linked. Follow the steps below to create a selection list and assign the list to a document.
Link Documents Manually
Using the Find Document dialog or from a list of documents in a folder, highlight the document(s) you want to add to your selection list.
Right click on one of the selected documents and select "Add Document(s) to Selection List".
You can execute Step 2 again to continue adding additional documents from other queries or folder locations within the same Cabinet.
Once you are done finding documents to add to the selection list, right click only on the one document you wish to associate with the selection list and select Find/Link Documents | Assign Selection List to Document.
You can add additional document to be link by repeating the process as many time as needed.
Show Manually Linked documents
Right click a document and select Find/Link Documents | Find by Selection List
Delete Manually Linked documents
Right click a document and select Find/Link Documents | Find by Selection List
Right click on the documents you wish to remove from the list and select Find/Link Documents | Remove Linked Document(s)
Linking Document via Index Set definition
Linking documents via an Index Set allows you to define a Find Document criteria using the values of the currently selected document to drive the query's results. For example, you can highlight a document representing an invoice and set up a link that finds all other documents that are associated with the invoice number of the selected document. Listed below are the steps to create such a result, but keep in mind that you can also create relationships with any type of information. Examples of this could include an Employee ID# with HR records or client matters associated with case information. You are limited only by your index set information and your own imagination!
Creating a link defined by an Index Set
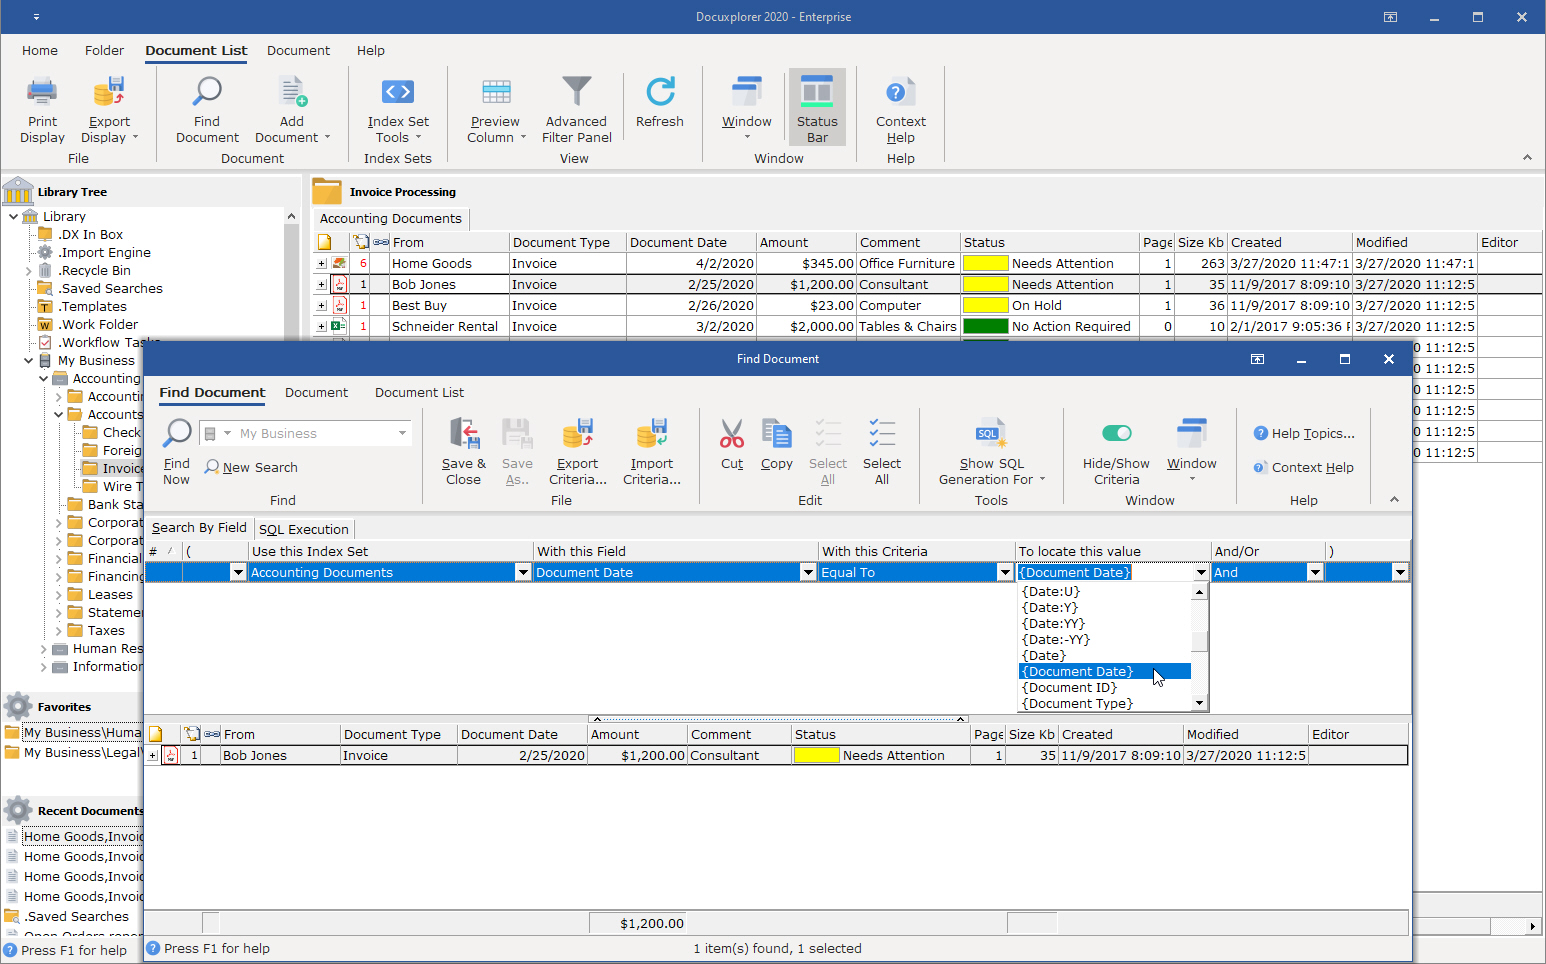
Right click a document and select Find/Link Documents | Find by Index Set definition. The Find Document dialog is displayed (see picture below).
In the "Use this Index Set" column, select the Index Set for which the relation is based on. In our example, the Index Set is called "Purchase Orders".
In the "With this Field" column, select the Index Field for which the relation is based on. In our example, the Index column is called "Invoice Number".
In the "With this Criteria" field, select the condition for which the value located could be satisfied. In our example, we used "Equal To" as we will be matching an exact value (e.g. "Invoice Number").
The last column to be defined is the most important one, since it represents the linked value of the documents to be found. In our example, it is the Invoice's Invoice Number. To help with this, DocuXplorer creates a drop-down list of auto-indexing values representing the selected document index set columns and standard Auto Indexing values. For our example, we selected the Auto Index value {Invoice Number}.
Press "Find Now" to test your results and adjust your criteria as needed.
Once you are satisfied with the results, press the "Save & Close" option from the toolbar to preserve your settings.
Show/Edit links defined by an Index Set
Right click a document and select Find/Link Documents | Find by Index Set definition.
If you need to edit your criteria, click the splitter bar to show the query criteria, make your adjustments, and the click Save and Close to preserve your settings.
Delete links defined by an Index Set