This Help topic refers to the following editions:
þ Enterprise þProfessional þ Personal þ Small Business
To export a document to a Windows Folder:
Right click the document to export to bring up a drop-down menu and choose Send To/Windows Folder
Choose a location to save the file
Click on Save
Export Documents/Index information in bulk using the Find Dialogue.
Open the Find Document dialogue in DocuXplorer from the top menu.
Click “Search by Field”
Enter a search term that will satisfy the criteria for Documents you’d like to export. In this case, we’ll use a search that will render every Document in the Cabinet.

On the Find Document Tab select “Find Now”
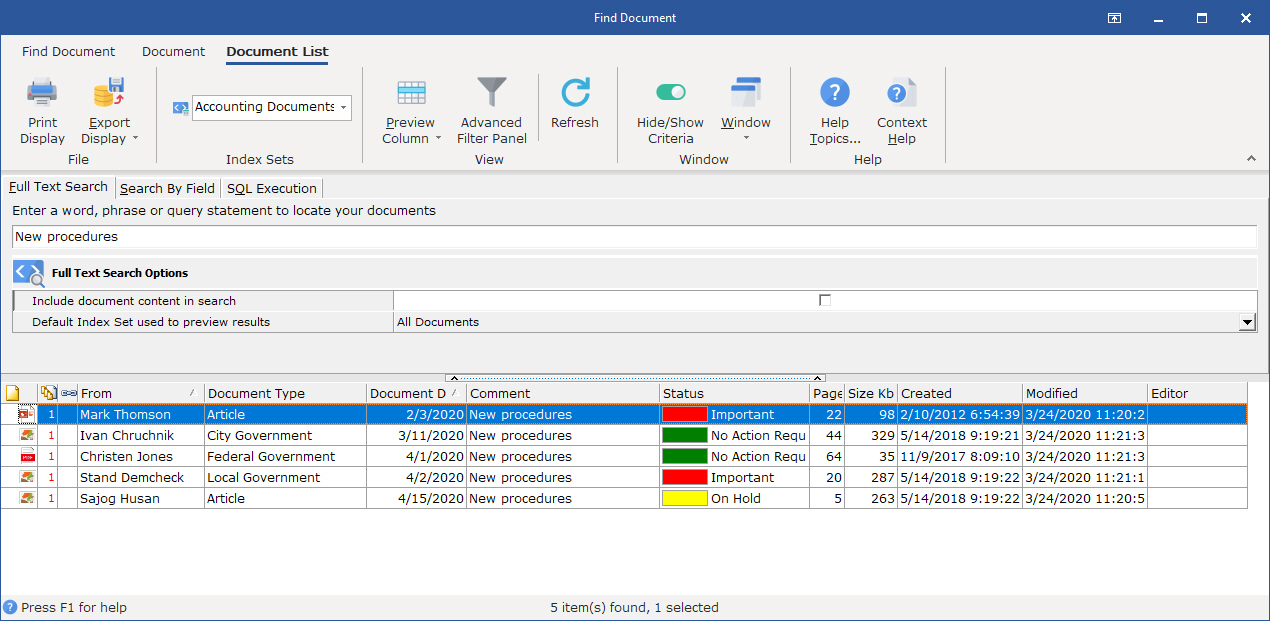
Once the results appear, select the Document List tab and select Export Display and choose the format desired for the index information output
Once the display is exported, click any document in the results list to highlight it.
Hold CTRL and press A (Ctrl + A) to highlight all documents
Right click any of the selected documents and choose Send To < Windows Folder
Choose the folder to export the Documents
Tip:
By default the Subject Field entry will become the exported file's name. You can select other field values to combine to create an export file name in the Index Set Properties dialog box
If you exporting documents that are in a different language from your operating system you'll need to change your System Locale. Go to the regional settings dialog and select Administrative | Change system Locale.. and change the language to the language of the documents text your exporting.