This Help topic refers to the following editions:
þ Enterprise þProfessional þ Personal þ Small Business
From the DocuXplorer Desktop:

To Import a document:
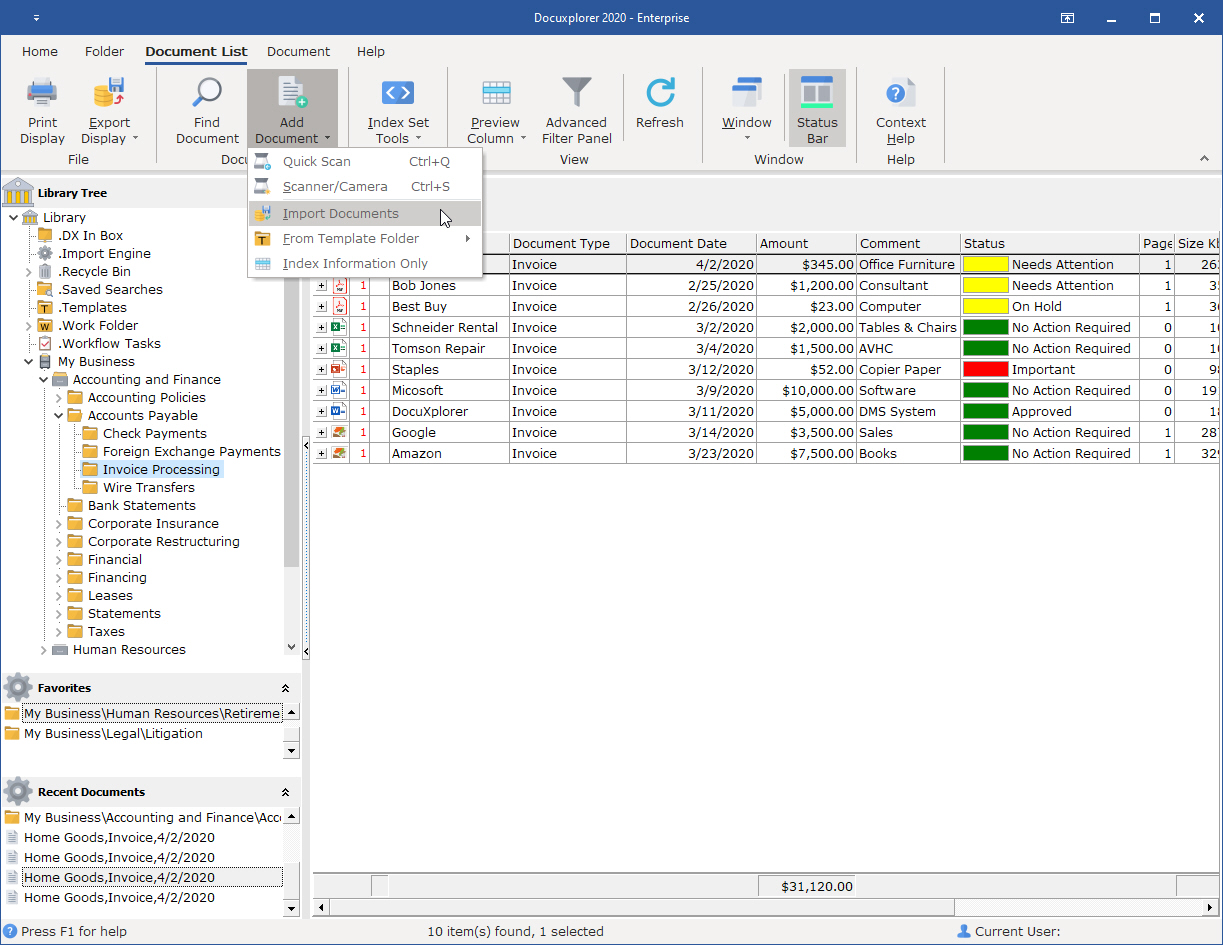
From the Menu bar, Icon Toolbar or right-click Menu click Add Document/Import
Locate the document or file you wish to import and click Open
Select an Index Set for the document from the drop down list and enter the index information
To change to a different location click "Place in Folder" and select the Folder to store the document
Tip:
You can import multiple documents by selecting a group of documents in the Locate Document screen.
When importing multiple documents the documents will automatically be imported to the default location (the Folder where you initiated the import).
DocuXplorer can automatically remove imported files from their originating hard drive folders after import by setting the "Send original files of documents imported to DocuXplorer to the Recycle Bin" Option in the Tools/Options/Workstation menu. When set, the duplicate document remaining on the hard drive is sent to the operating system’s Recycling Bin after it has been added to the DocuXplorer database. This feature is available only when importing documents from a local hard drive.
On a multiple document import the Subject field will be filled with the imported document’s file name.
You can change Index Sets and add additional index data by opening the Document Window for the document.
When importing to a Folder with a Default Index Set only the Subject field data will be changed from the last entry. Use the Subject field data to determine what if any other data needs to be changed for each document.
Use the Sort by Date Entered command to make locating those imported documents easier to find.